Introducing the IMAGE function

Remember when we had to use hacky methods to insert pictures into cells?
No longer. A new function is born — it’s called IMAGE.
That’s right, Excel has taken another leaf out of Sheets’ book with a long overdue but much welcome addition.
For Windows users, IMAGE is currently only available to Office Insiders on the BETA channel running Version 2209 (Build 15608.10000) or later.
Syntax
=IMAGE(source, [alt_text], [sizing], [height], [width])source— the URL path of the image (BMP/JPG/JPEG/GIF/TIFF/PNG/ICO/WEBP file formats are supported).[alt_text]— the alternative text that describes the image.[sizing]— how the image should display. The options are:- 0 – Fit cell — fits the image in the cell, maintaining its aspect ratio.
- 1 – Fill cell — fills the entire cell with the image, ignoring aspect ratio.
- 2 – Original size — maintains the original image size.
- 3 – Custom size — displays the image according to the dimensions set.
[height]— the custom height of the image in pixels.[width]— the custom width of the image in pixels.
[height] and [width] only require values if [sizing] is set to 3 – Custom size.
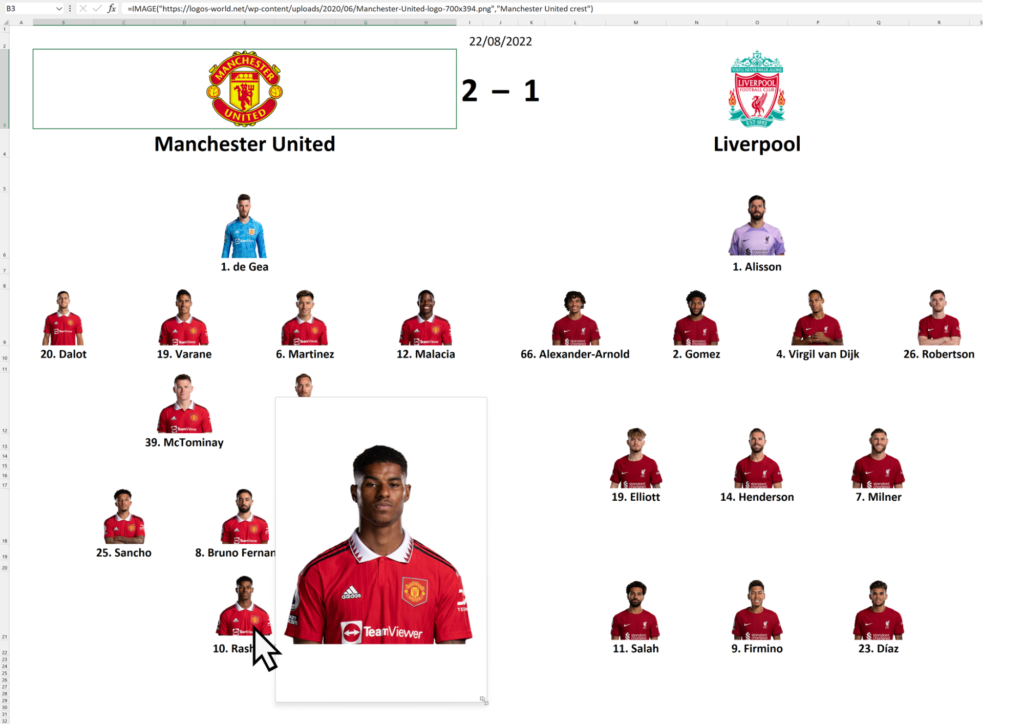
Hovering over an image triggers a popup, giving you a closer look. This is bound to be handy if you’re storing mass numbers of them in regular-sized cells.
17 months ago, I wrote an article called ‘10 Features in Sheets Excel Needs’, and number 10 on my list was indeed ‘Images in Cells’. That can now be crossed off, as well as a couple of others.
It’s great the Excel team has listened to what users want and is continuing to make inroads to sweep away the competition!


