How to Insert Data From a Picture in Excel

Want to digitise that document, receipt, or book page?
Data from Picture is an Excel feature that allows you to extract the text from an image and insert it into a worksheet. This can be a real timesaver and prevents the need to carry out data entry work manually.
It’s already possible to do this in Excel for Mac — as well as the iPhone and Android apps. However, for Windows users, it’s currently only available (as of 25th July 2022) to Office Insiders running Beta Channel Version 2207 (Build 15402.20002) or later.
For more information about the Office Insider Program, visit my article: ‘How to Join the Office Insider Program’.
Let’s take a look at how to use this new feature.
Steps
1
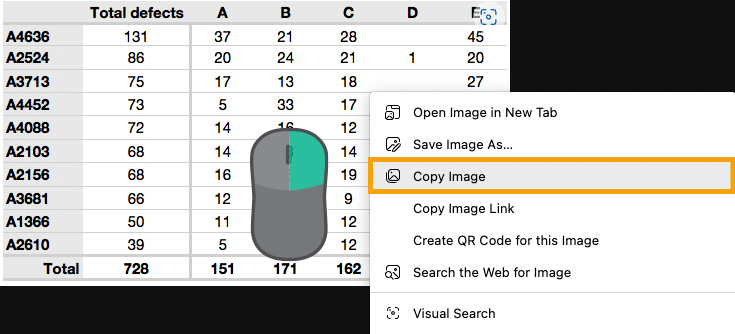
Prepare an image. You can capture a photo of some printed material, copy one from the web, or take a screenshot.
Just make sure it’s clear and cropped so only the data you want to extract is visible.
The following languages (and their character sets) are currently supported: English, Bosnian, Croatian, Czech, Danish, Dutch, Finnish, French, German, Hungarian, Italian, Norwegian, Polish, Portuguese, Romanian, Serbian, Slovak, Slovenian, Spanish, Swedish, and Turkish.
The image used in this example has been copied to the Windows clipboard.
2
Select Data (tab) > From Picture (dropdown) and choose between Picture from File and Picture from Clipboard.
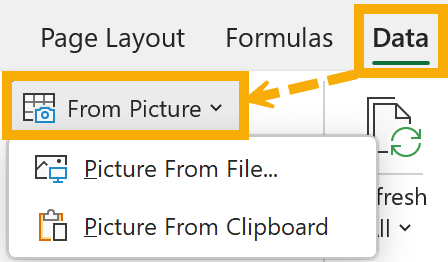
I’m selecting Picture from Clipboard. If you opt for this, ensure you’ve copied an image or taken a screenshot first. Otherwise, it will be greyed out.
It may take a few seconds for the image to be interpreted in the pane that opens.
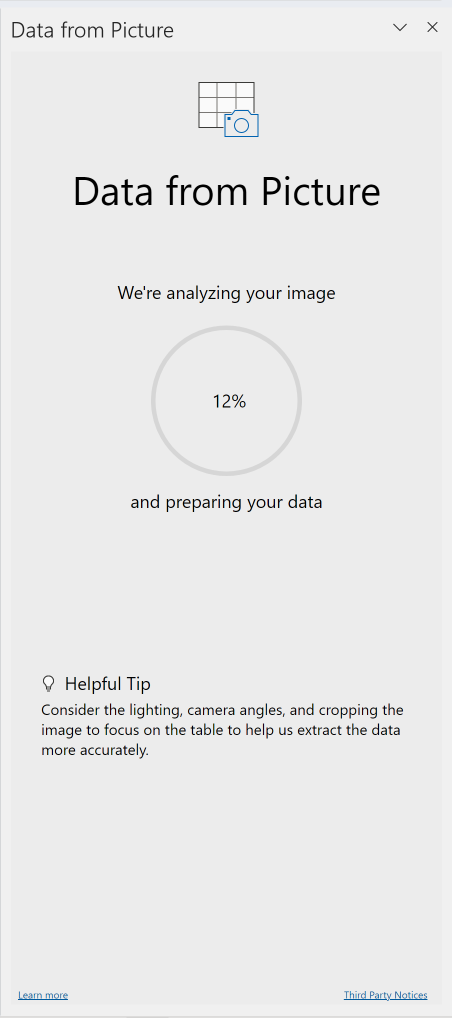
Once it has, you’ll see a preview at the top with the conversion below.
3
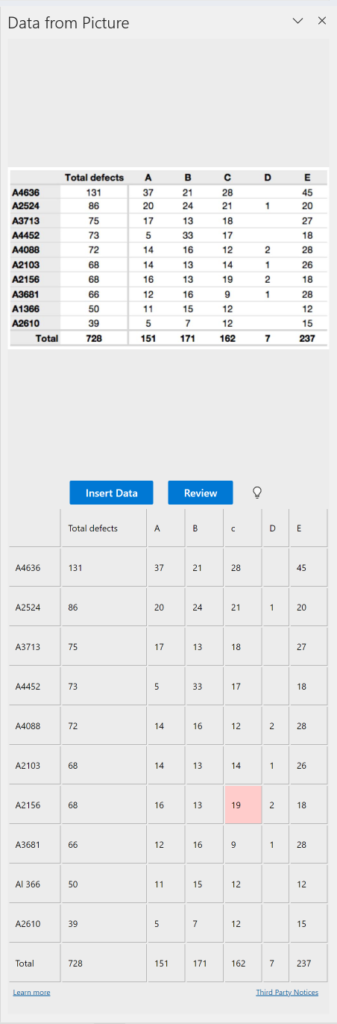
Click Review to cycle through the values Excel is suspect of (highlighted red). Edit them and/or click Accept to confirm them as valid.
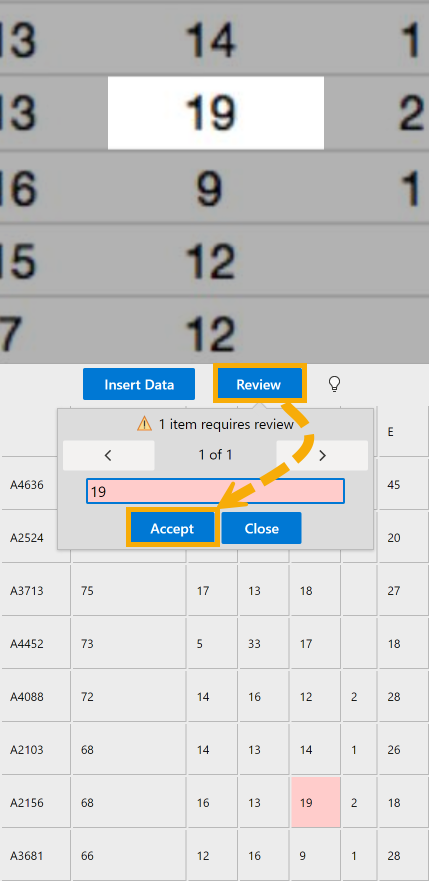
The cell containing 19 was flagged up despite clearly being correct.
4
Click on any other values to edit if they haven’t converted correctly and then Accept to confirm the changes.

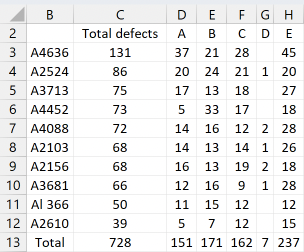
The header C was incorrectly converted to a lowercase ‘c’, but no error was detected.
5
Finally, click Insert Data twice to paste the data into the worksheet.
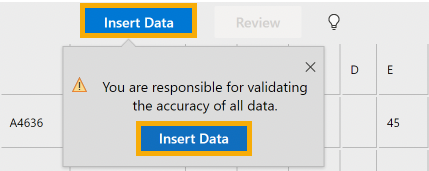
Now you can start working with it!
Example
Check out this video demonstration of how to insert data from a picture.
Final Words
Data From Picture is already at an advanced stage, but it’s likely to take a few months before being released to the production version.
As you saw, it is still advisable to conduct manual checks as Excel doesn’t always do a perfect job of converting your image.
It’s still early days though, so I’m sure these niggly bugs will be ironed out.


